
Layered PSD
Named raster layers on a shared canvas. Useful when you want to keep the character’s layout together.
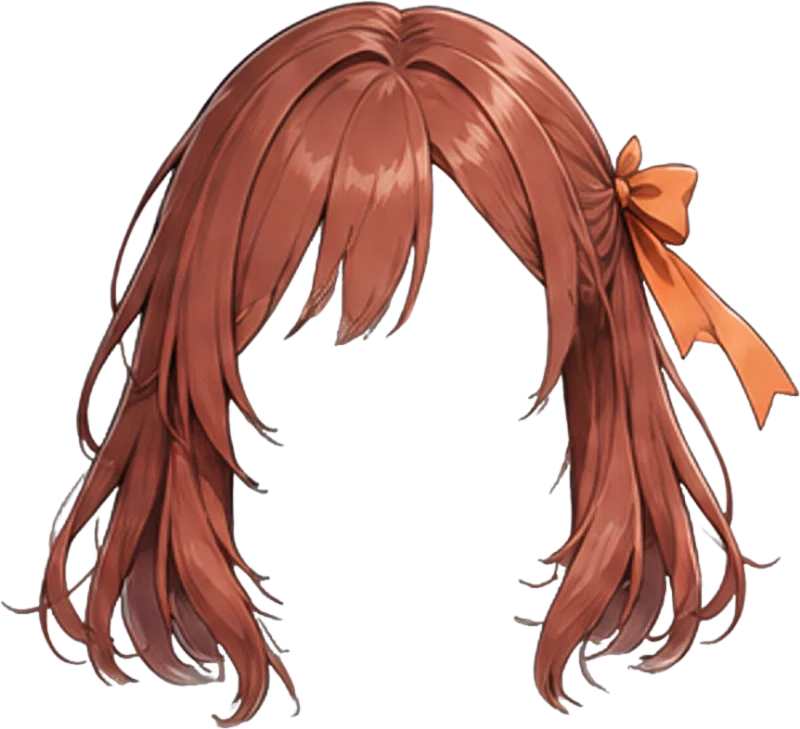 Front Hair with Orange Ribbon
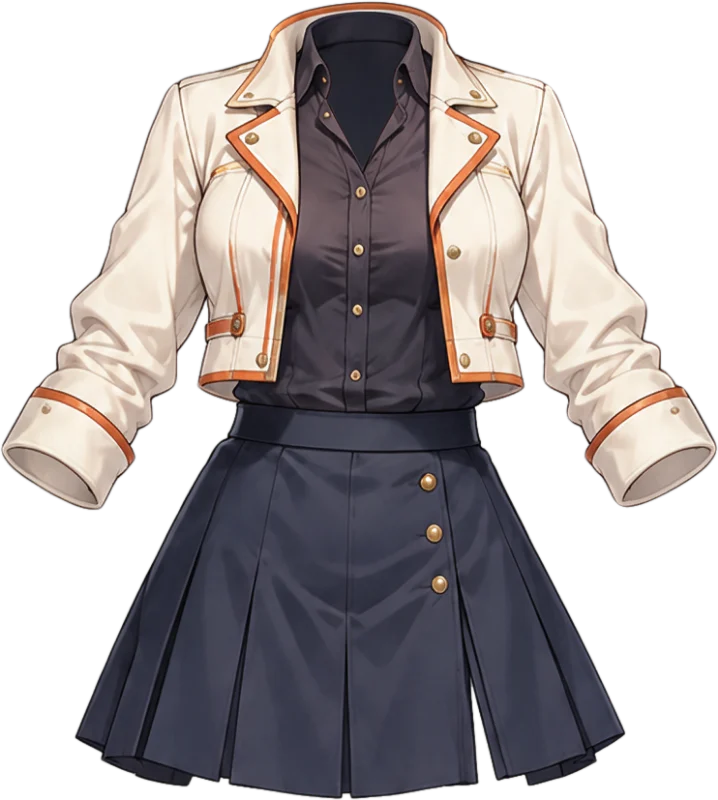 Torso Full Outfit
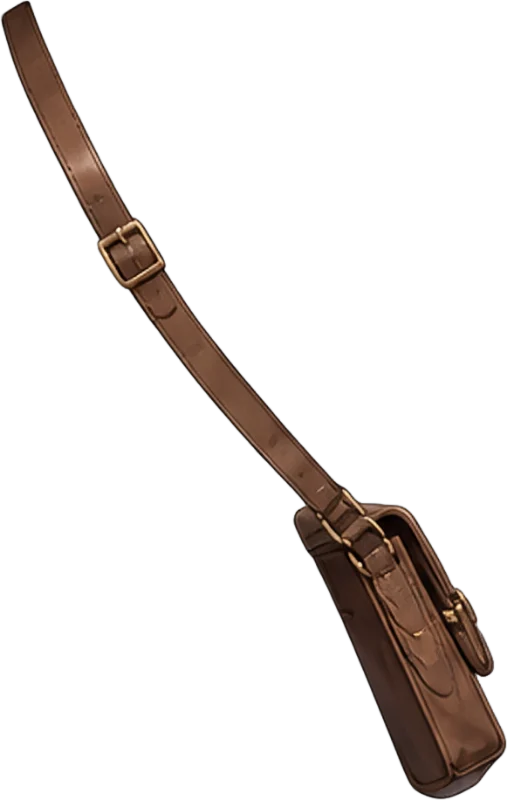 Crossbody Bag and Leather Accessories
AI CHARACTER LAYER SEPARATION
Turn character art into layered PSD and transparent PNG assets. Explore the files, refine individual parts, and prepare your artwork for the next editing or animation step.
Character artwork
0/1Upload Image
JPG, PNG, or WebP up to 24MB.
Start with Auto. More layers can separate smaller parts, but the artwork still determines what can be isolated.
Each generation uses 20 credits.
 00
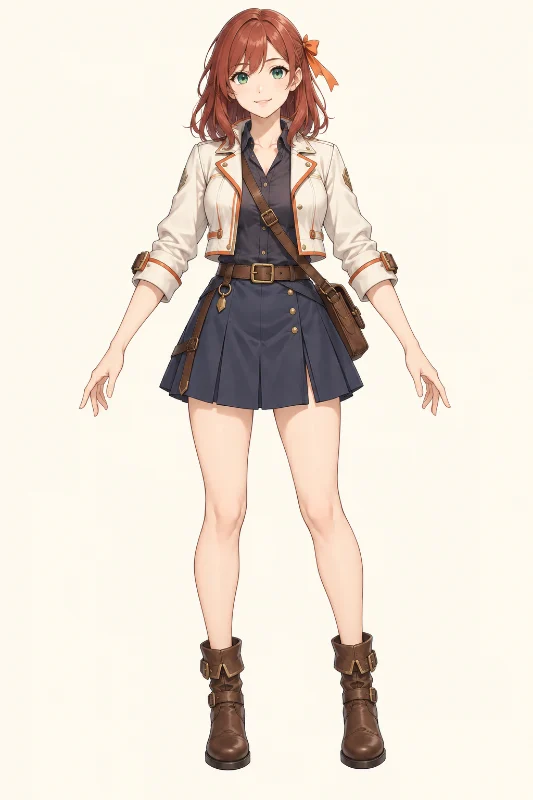
00Original character
Meet the courier. Explore her layers.
Example: An original character, separated into transparent assets. Select a layer to inspect the actual output.
Best with one clear character, a simple pose and visible details.
One full-body character, with named parts you can take into your next editing project.
Parts from this example
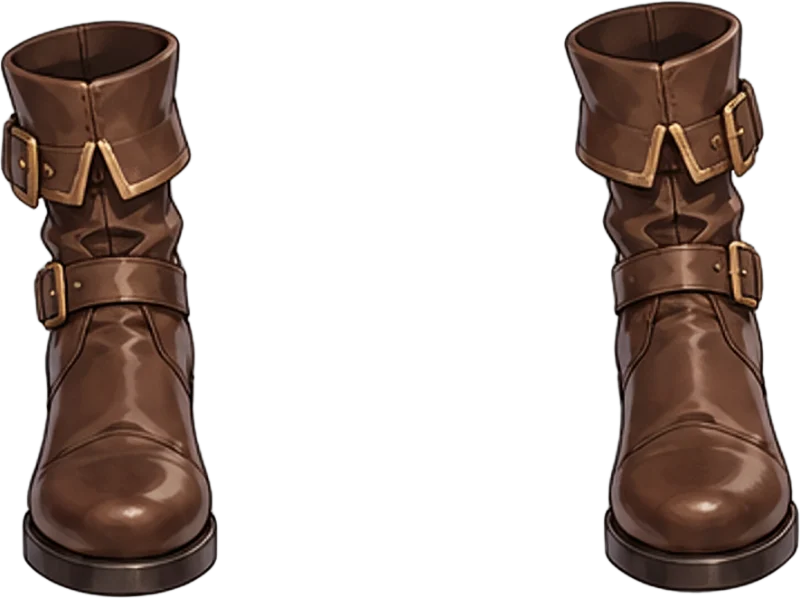
Real separated raster parts. The complete result can include background patches and an AI base with residual artwork.
Exported parts let you focus on one element. Try this color-adjustment illustration.
Try a color direction for the bag without recoloring the entire illustration.
Interactive illustration of an edit after export. Color editing is not part of the separation tool.
Follow one arm from a separated layer to the checks and setup needed in your animation workflow.
Locate the arm on the character, then view the complete transparent layer on its own.
Inspect the shoulder edge and covered area. Paint missing coverage if moving the arm exposes a gap.
Add and adjust controls in your animation software. The marked joints illustrate a later setup step.
Exports contain raster layers. Rigging, expressions and animation are completed separately in your animation software.
Keep the layout together in a PSD, or work with individual transparent assets.
Named raster layers on a shared canvas. Useful when you want to keep the character’s layout together.
Front Hair with Orange RibbonTorso Full OutfitCrossbody Bag and Leather AccessoriesIndividual parts with transparency. A ZIP keeps the PNG assets together for download.
PNG parts may be cropped to their content. A PSD canvas matching the source size does not guarantee native source-resolution detail in every layer.
Learn how to split and review a character imageQUESTIONS & ANSWERS
Bring your character. Leave with parts you can work with.