
01
Upload a clear character
Choose one JPG, PNG or WebP up to 24 MB. Visible features and limited overlap give you a clearer starting point.
AI CHARACTER LAYER SEPARATION
Upload character artwork, inspect the separated parts, and download a layered PSD or transparent PNGs. Start with one clear character and review the details before editing.
Character artwork
0/1Upload Image
JPG, PNG, or WebP up to 24MB.
Start with Auto. More layers can separate smaller parts, but the artwork still determines what can be isolated.
Each generation uses 20 credits.
 00
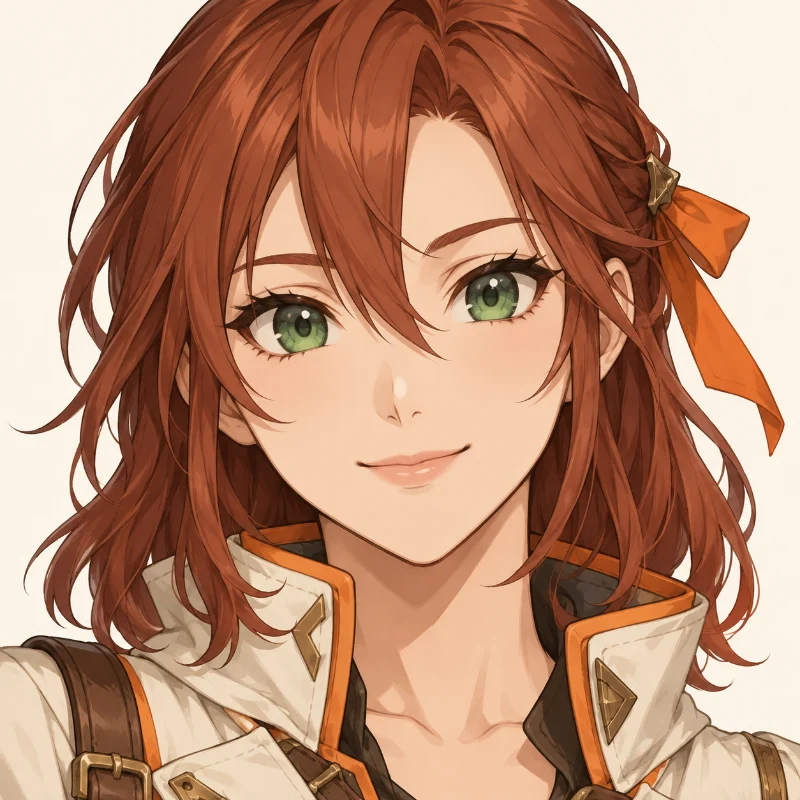
00Original portrait
A closer look at facial features.
Example: A separate portrait example with individual eye, mouth and face-skin layers. Generated details may need refinement.
Best with one clear character, a simple pose and visible details.
UPLOAD · REVIEW · EXPORT
Start with your artwork, then check the parts before downloading.
Choose one JPG, PNG or WebP up to 24 MB. Visible features and limited overlap give you a clearer starting point.
Choose your settings, then run separation. Select a part in the result to check its edges and covered areas.
Export a layered PSD or transparent PNG assets. Keep the original nearby for any manual cleanup.
A REAL PORTRAIT EXAMPLE
Select an actual part to inspect it on transparency. Your image may produce a different layer structure.
Original artwork
One flat image. All the details together.
Layered result
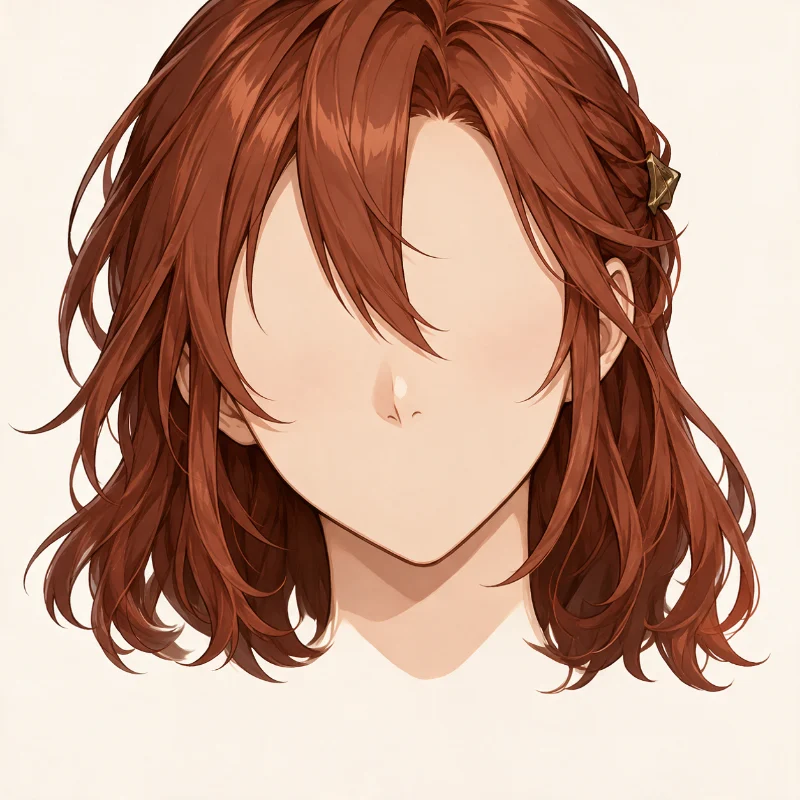
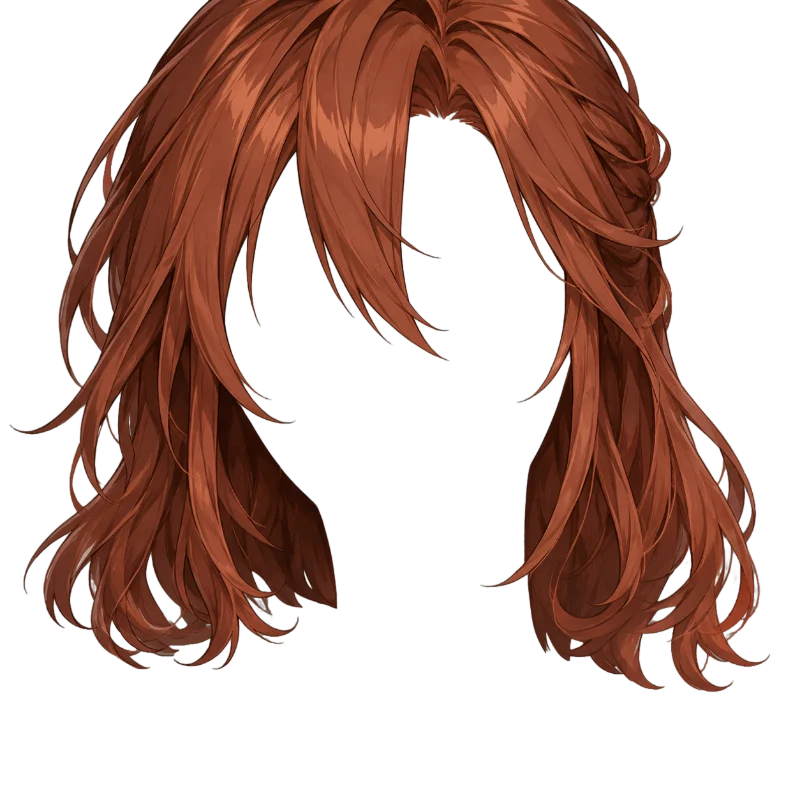
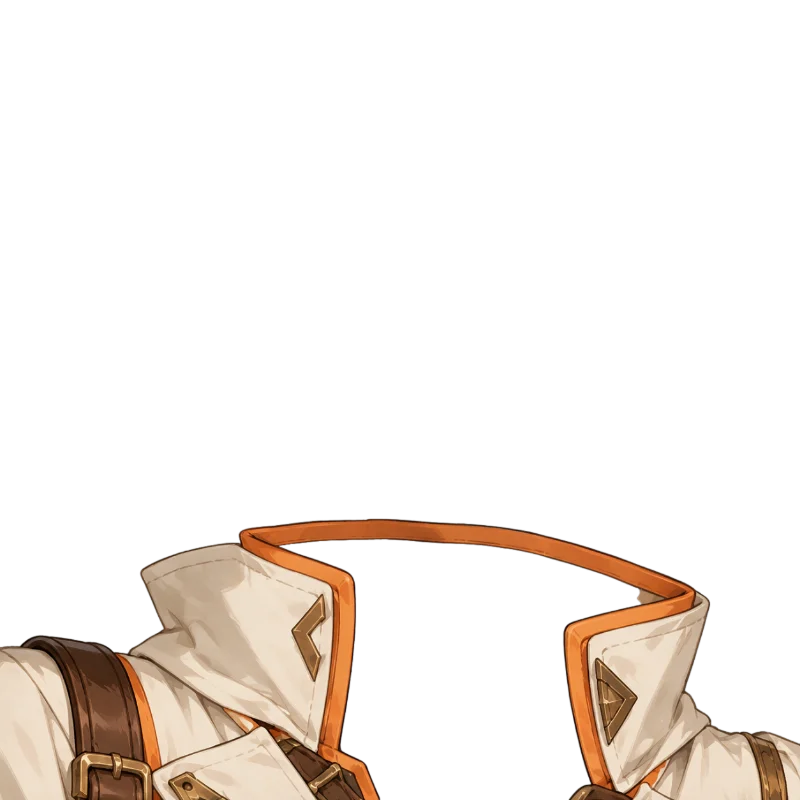
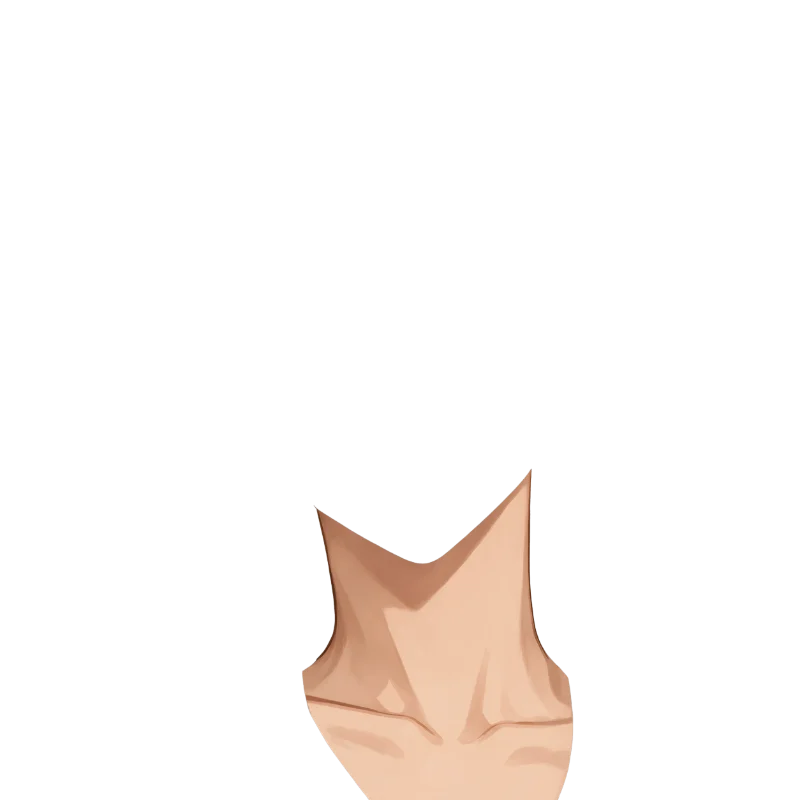
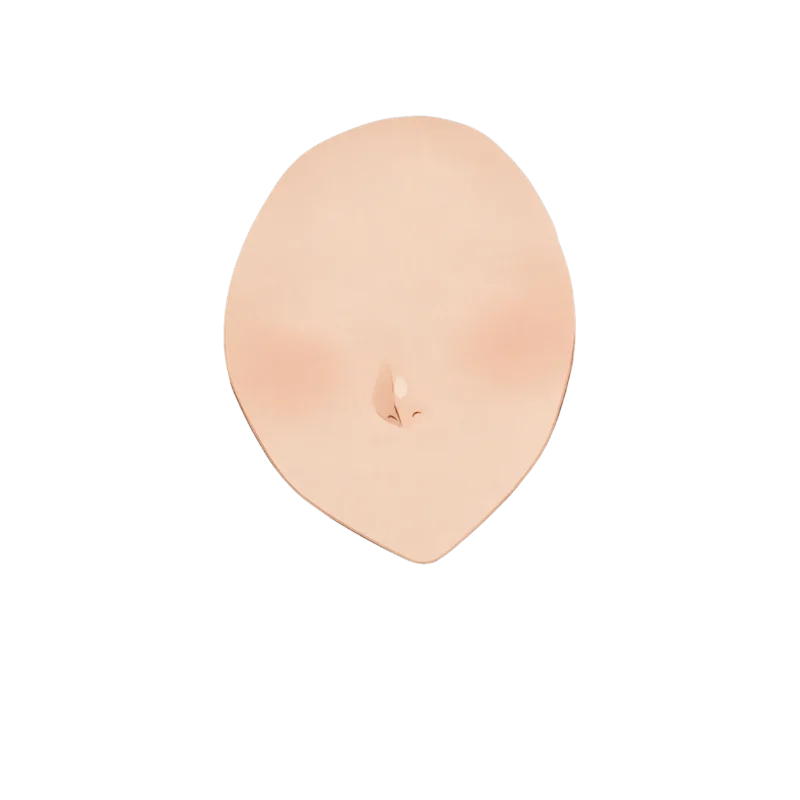
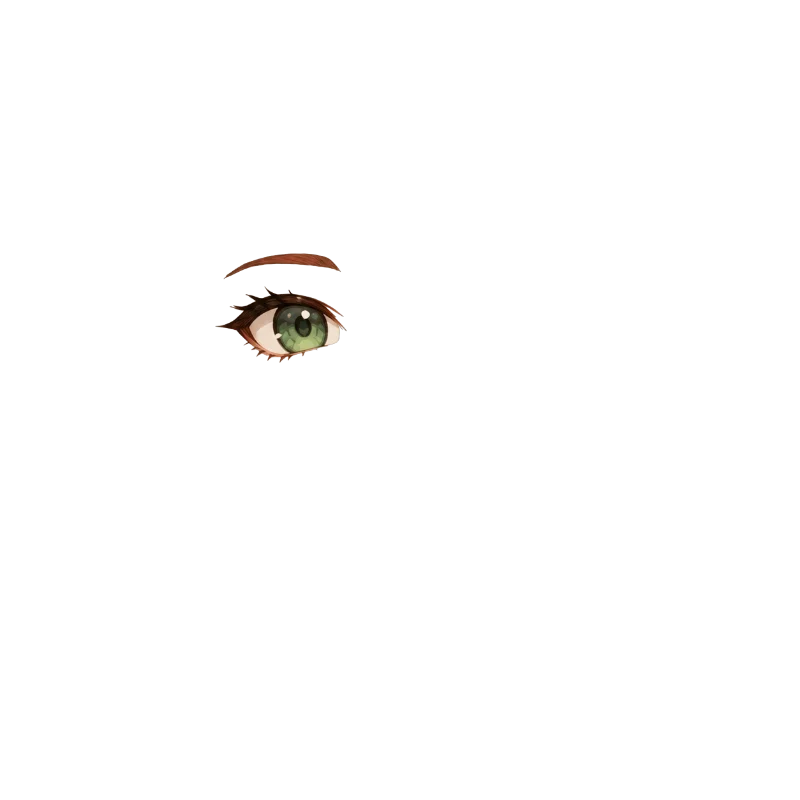
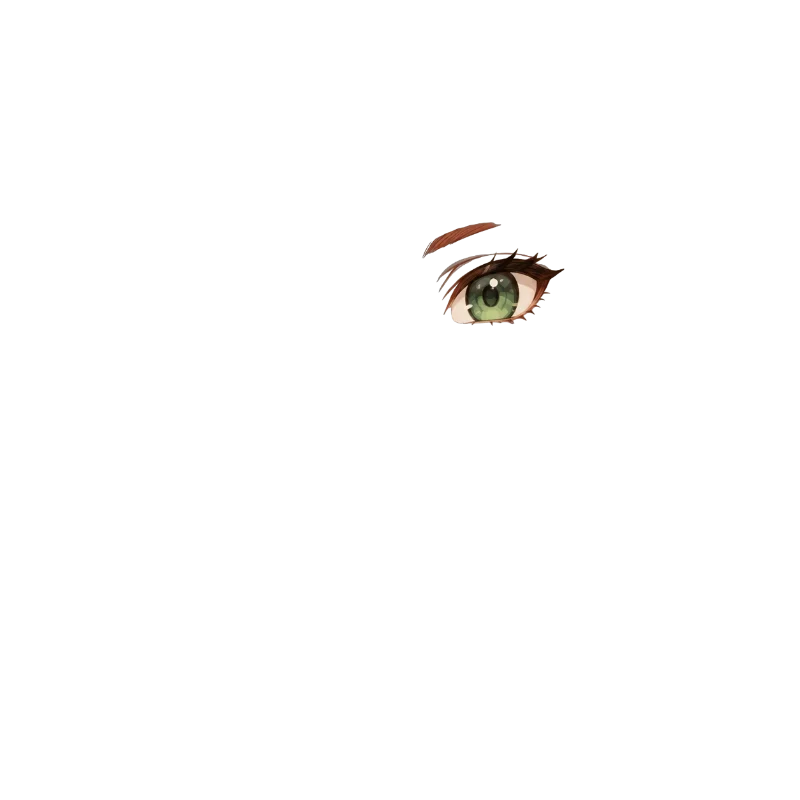
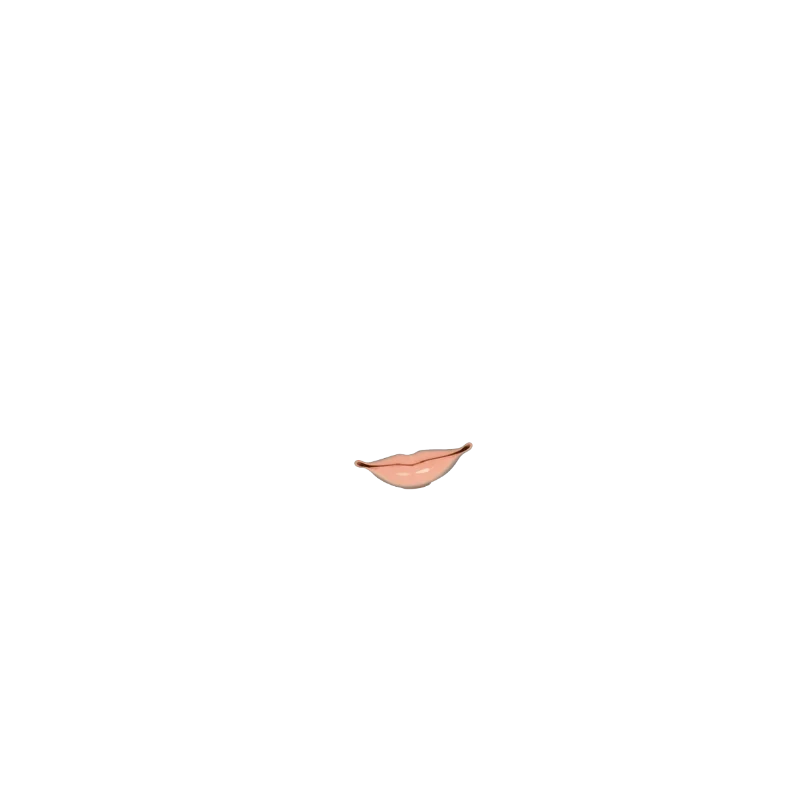
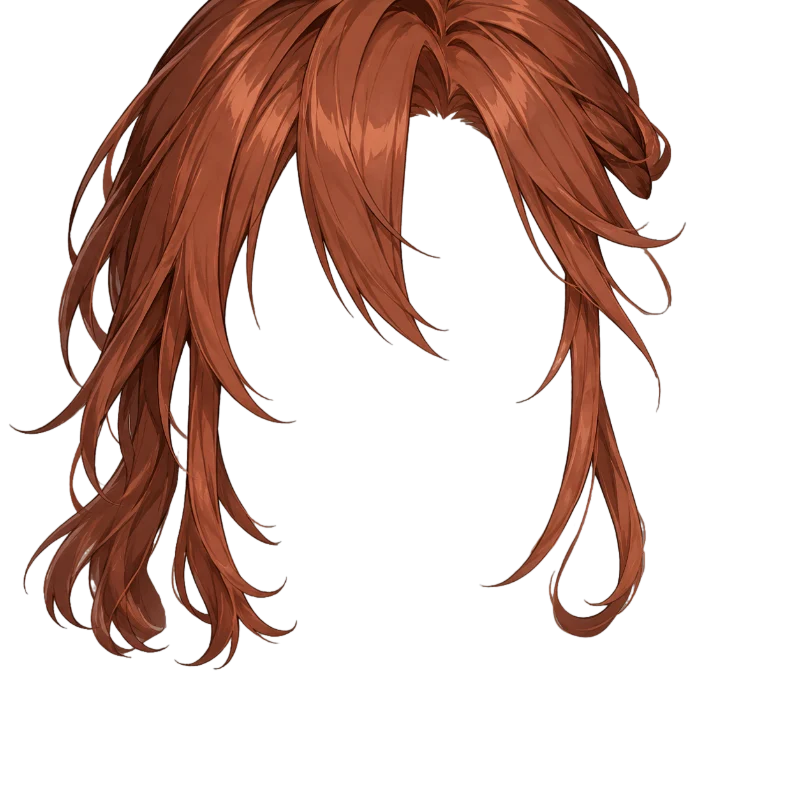
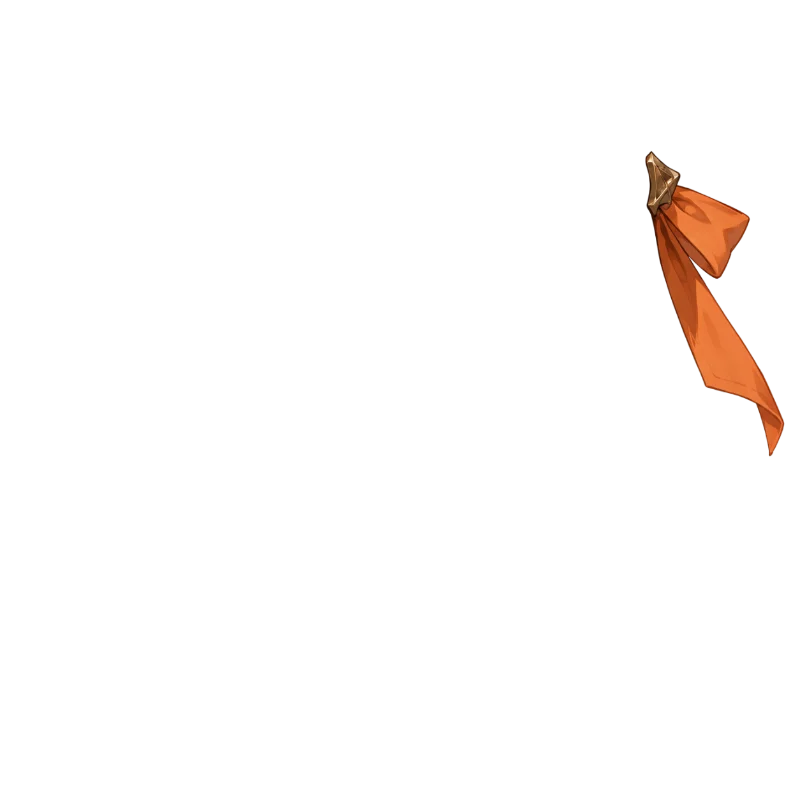
Select a part to inspect it. Toggle an eye to check the overlap. This portrait separates both eyes and the mouth from face skin. Generated details may differ from the original. The AI base includes residual artwork.
Start with one clearly visible character. Check the small details and the places where parts overlap.
Check that eyes, brows and fine hair are clear enough to inspect before uploading.
A strap over clothing needs extra review after separation. Overlap is a checkpoint, not a reason to reject your image.
View the complete part first, then zoom into details. Both sides stay aligned at the same scale.
Hair edges: Look for missing strands and background fringes along the hair edge.
See how to edit and organize your character layersQUESTIONS & ANSWERS
Bring your character. Leave with parts you can work with.