


Upload your image
Start with a JPG, PNG or WebP up to 24 MB, at least 512 × 512 pixels. The clearer the boundaries between elements, the cleaner the split.
ONE FLAT IMAGE. SEPARATE LAYERS.
Upload a JPG, PNG or WebP and AI separates the picture into transparent layers you can move, hide or recolor — the subject, the objects around it, and a background rebuilt behind them. Export a layered PSD or a ZIP of PNG layers.
Mode
Upload Image
0/5Upload Image
JPG, PNG, or WebP up to 24MB.
Choose how many editable visual groups AI should create first. Auto stays within 10 layers — more layers take longer to separate. You can split mixed layers again after reviewing the result.
Exports transparent PNG layer files and a ZIP package for editing.
Each generation uses 20 credits.
 00
00Original
Logo & Poster Layers
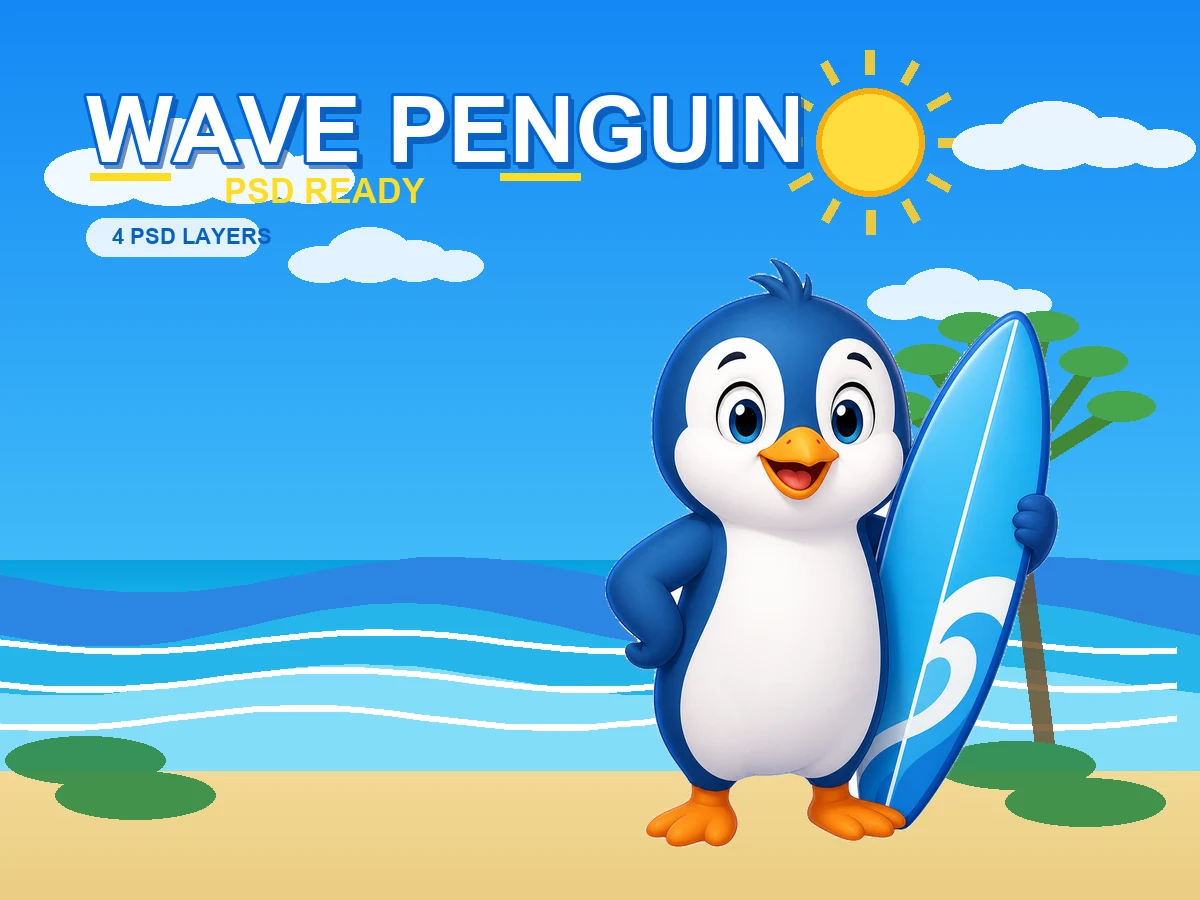
Example: A flat graphic separated into logo, text, icons, effects, and background layers for fast redesign.
There are three ways to split an image into layers: AI separation in about a minute, masking by hand in Photoshop, or a color-based split that only works on flat graphics. Here is what each route gives you, and what it costs.
| AI layer separation | Manual masking in Photoshop | Color or selection split | |
|---|---|---|---|
| What you get | Up to 10 transparent layers, named and stacked | Whatever you mask, one layer at a time | Flat regions of similar color |
| Area behind objects | Repainted automatically | You clone or paint it back yourself | Left empty |
| Time per image | 60–120 seconds | 30–60 minutes | Minutes, on simple art only |
| Skill needed | None | Masking and retouching | Basic selection tools |
| Best for | Photos, posters, product shots, illustrations | Hair, fur, glass, anything needing pixel control | Logos, flat vectors, screenshots |
| Cost | Credits per run, no software to install | A Photoshop license plus your time | Free in most editors |
If you would rather do it yourself, the manual route is five steps.
Expect 30–60 minutes for a busy image. The AI route above does the same job in about a minute, and you can still retouch the result by hand afterwards.
Upload one flat image, let the model separate it, then export the layers you need.
Start with a JPG, PNG or WebP up to 24 MB, at least 512 × 512 pixels. The clearer the boundaries between elements, the cleaner the split.
Subjects, objects, text-like graphics and shadows become up to 10 transparent layers in 60–120 seconds, with the background repainted behind them.
Step through the layers one by one, then download a layered PSD, transparent PNGs or a ZIP. Layers come back near 0.4 MP at the original aspect ratio.
The same run behaves differently depending on what you feed it.
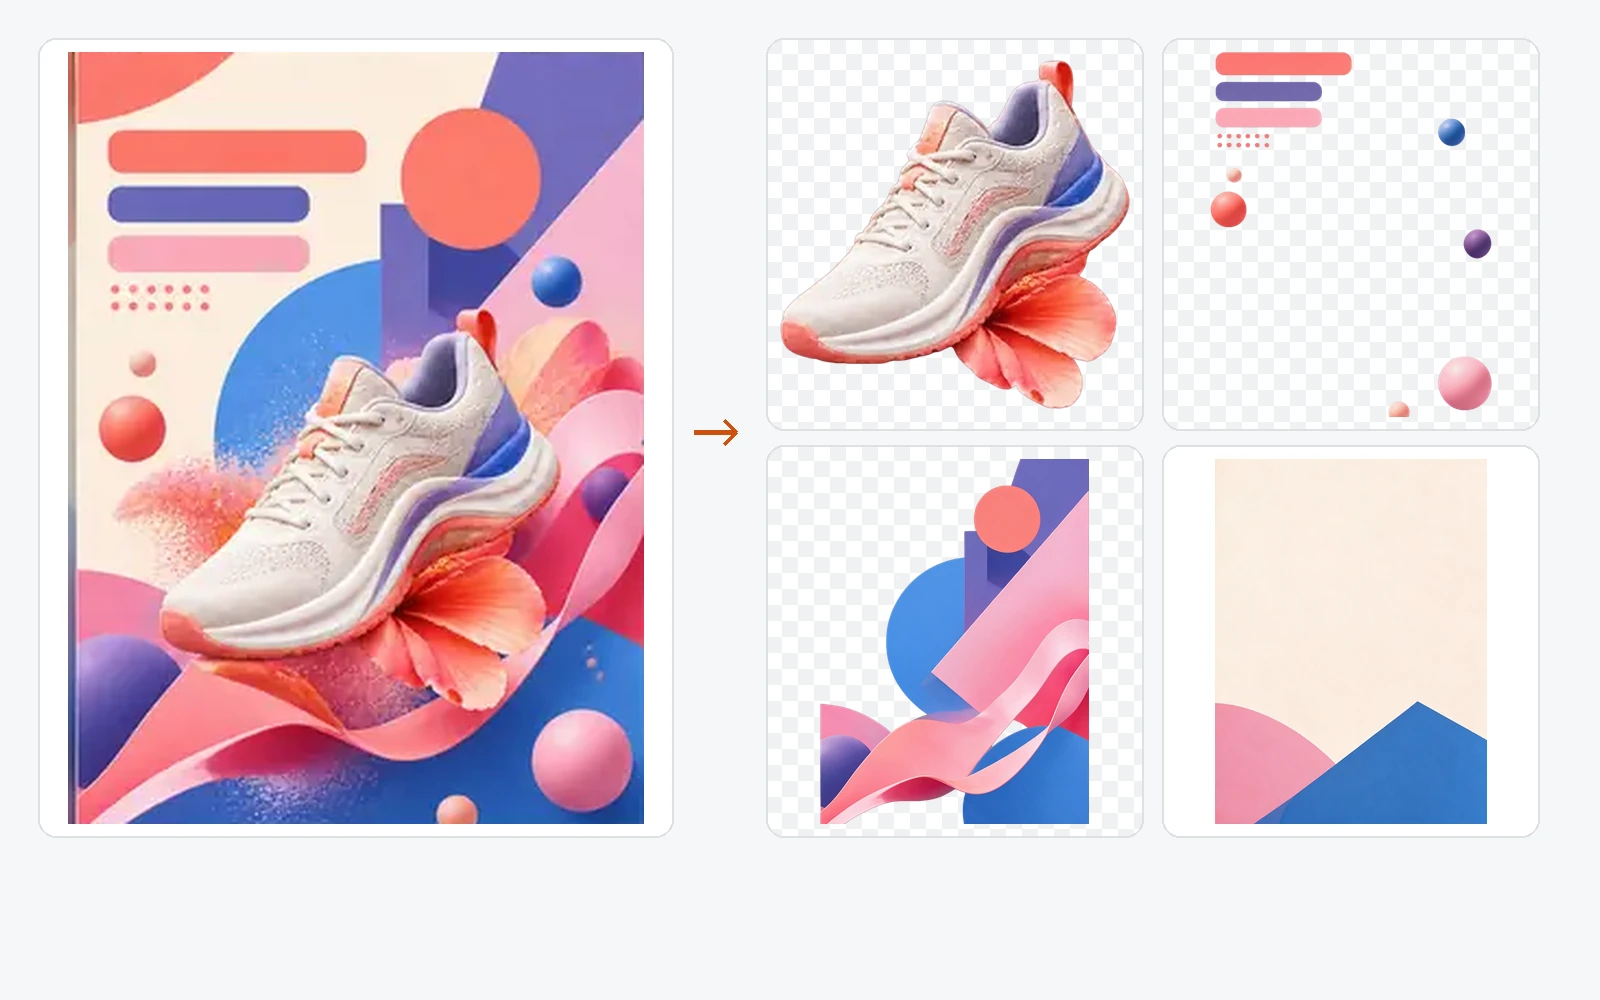
Headline, product, props and background usually land on separate layers, so you can rebuild the layout or swap the copy.
Image to PSD
The product, its shadow and the backdrop separate — which is what you need for marketplace images and ad sizes.
Background Splitter
The figure separates from the scene, and larger parts such as hair or outfit can land on their own layers.
Character to Layers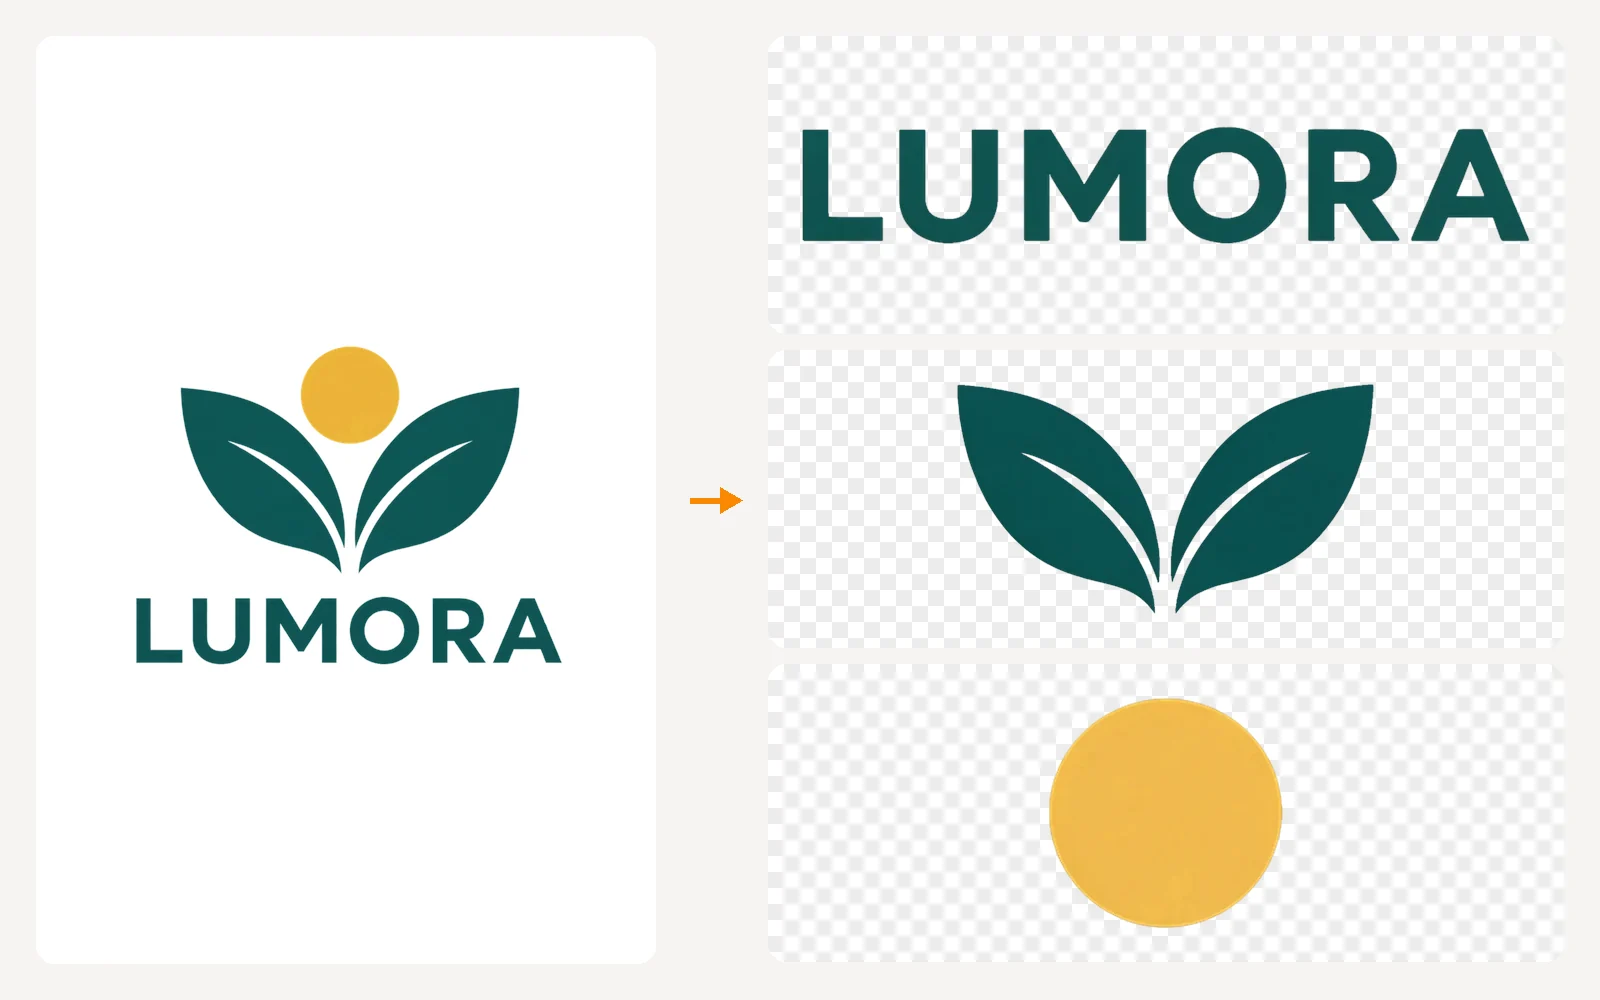
Symbol, lettering and decorative shapes come apart, though connected strokes may stay grouped.
Logo to LayersSeparate layers turn a finished picture back into editable parts.
Drop the subject onto a new scene without cutting it out again, and keep the original background as its own layer.
Image Background ChangerExport foreground, midground and background separately, then animate them at different speeds.
Image to PSDSwap the text layer for each market while the artwork underneath stays untouched.
PSD to JPGPull one product, prop or character out of an old composition and use it in the next one.
AI Layer ExtractorSome pictures separate cleanly, others need a tidy-up afterwards. Here is where it gets hard.
Hair, fur, glass, smoke and motion blur obscure the boundary between one layer and the next.
Small files, strong JPEG artefacts and elements sharing a color with their background all separate less confidently.
Every layer is pixels, so a headline comes back as an image of text rather than live type, and a logo as pixels rather than vector shapes.
Upload the image here and the layers come back in 60–120 seconds, with no software to install. Open the exported PSD in Photopea, GIMP, Affinity Photo or Krita if you want to keep editing without a Photoshop licence.
Creating an account is free and the files you export carry no watermark. Each separation run spends credits from your balance; the pricing page lists the packs and what each one covers.
Two layers usually split the subject from the background. Four to six start isolating props, text blocks and shadows. Ten is worth it only on busy compositions — a high count on a simple picture produces fragments you then have to merge.
JPG, PNG and WebP, up to 24 MB and at least 512 × 512 pixels. Photographs, posters, product shots, game art, social graphics and AI-generated images are all sensible inputs.
Most images finish in 60–120 seconds. Busier compositions and higher layer counts sit at the slower end of that range.
Layers come back near 0.4 megapixels at the original aspect ratio, as RGBA images with real transparency. That is a working resolution for composition and motion, not a full-resolution replacement for masking the original file.
Usually yes. When an object is lifted onto its own layer, the background layer comes back with the gap repainted, so moving or deleting the object does not leave a hole. How convincing the fill looks depends on how busy that area was.
No. Background removal hands you one cutout and discards the rest. Layer separation keeps the whole picture — subject, objects, shadows and a rebuilt background — as separate layers, so removing a background becomes something you do after separation.
You can move, hide or mask the layer a headline sits on, but you cannot retype it. Fonts cannot be recovered from a flattened picture, so text arrives as pixels.
Uploads and results stay in your workspace for 30 days so you can reopen or download them, and you can delete a generation yourself at any time. The privacy policy has the full detail.
START WITH ONE IMAGE
Upload a JPG, PNG or WebP and download a layered PSD, transparent PNGs or a ZIP.
Separate an image