WebP to PSD converter

WebP to PSD: Convert Web Graphics into Layers

Turn WebP graphics, product images, and web banners into separate raster layers. Preview your result and download a PSD to continue editing in Photoshop.

Static WebP input supportedEditable raster layers in a real PSDGenerate online, refine in Photoshop

Upload Image

0/1

Upload Image

Upload a static WebP image · Up to 24 MB · At least 262,144 pixels

Auto
Up to 10 layers

Choose how many editable visual groups AI should create first. Auto stays within 10 layers — more layers take longer to separate. You can split mixed layers again after reviewing the result.

Sample:

Each generation uses 20 credits.

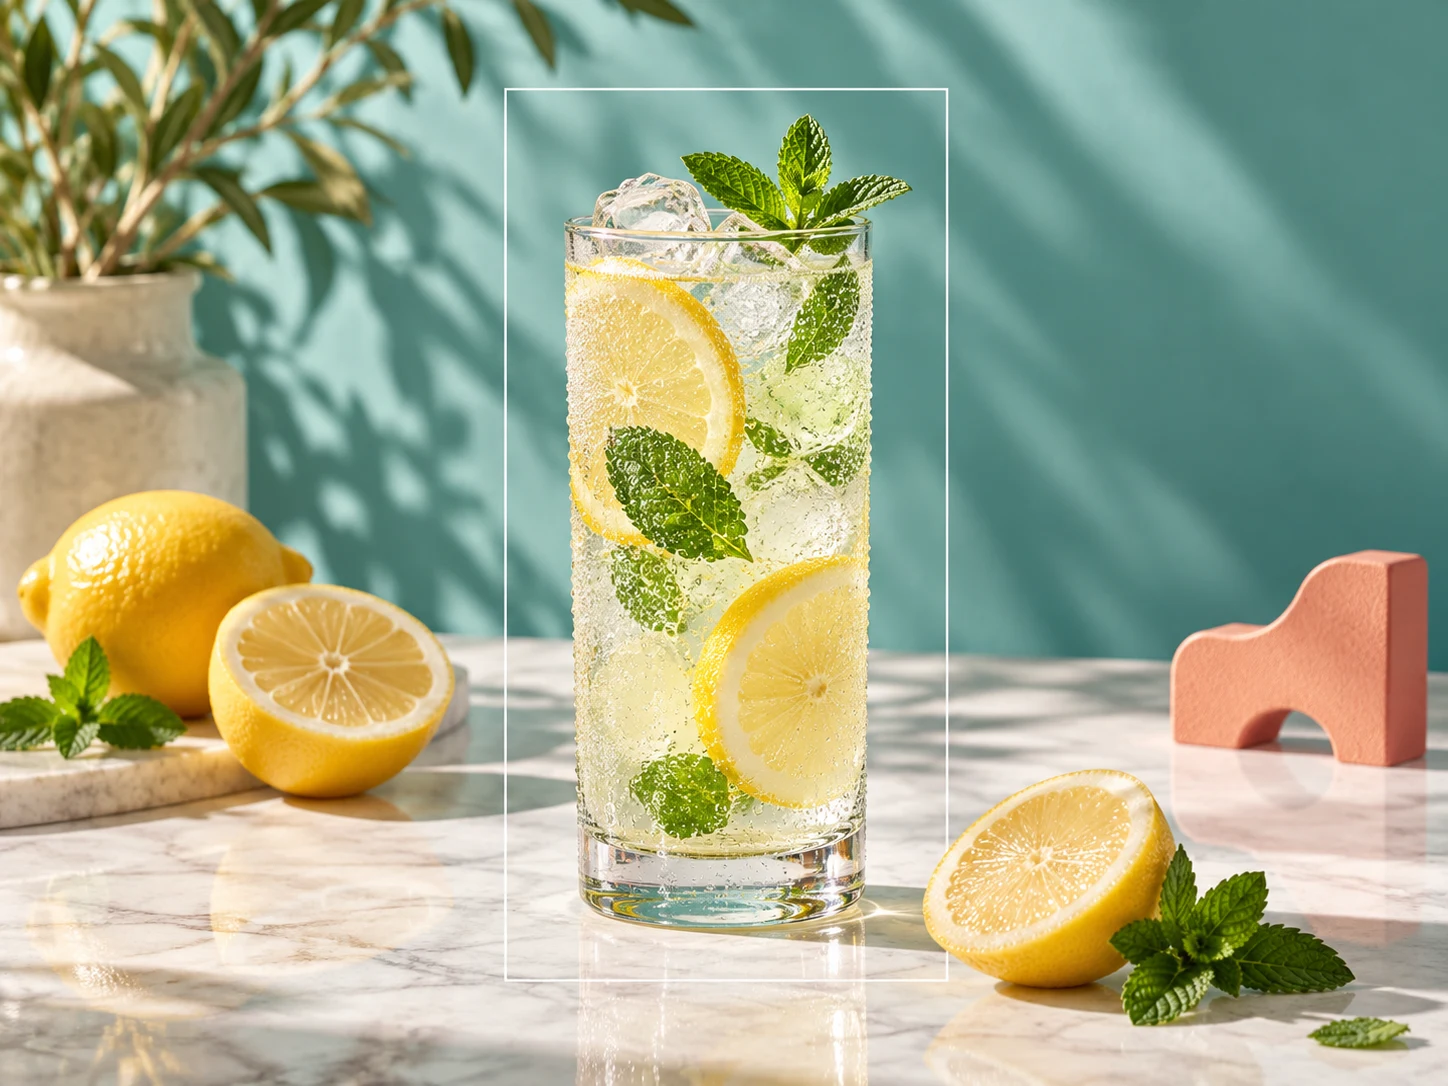
Lemon beverage graphic illustrating a WebP subject layer

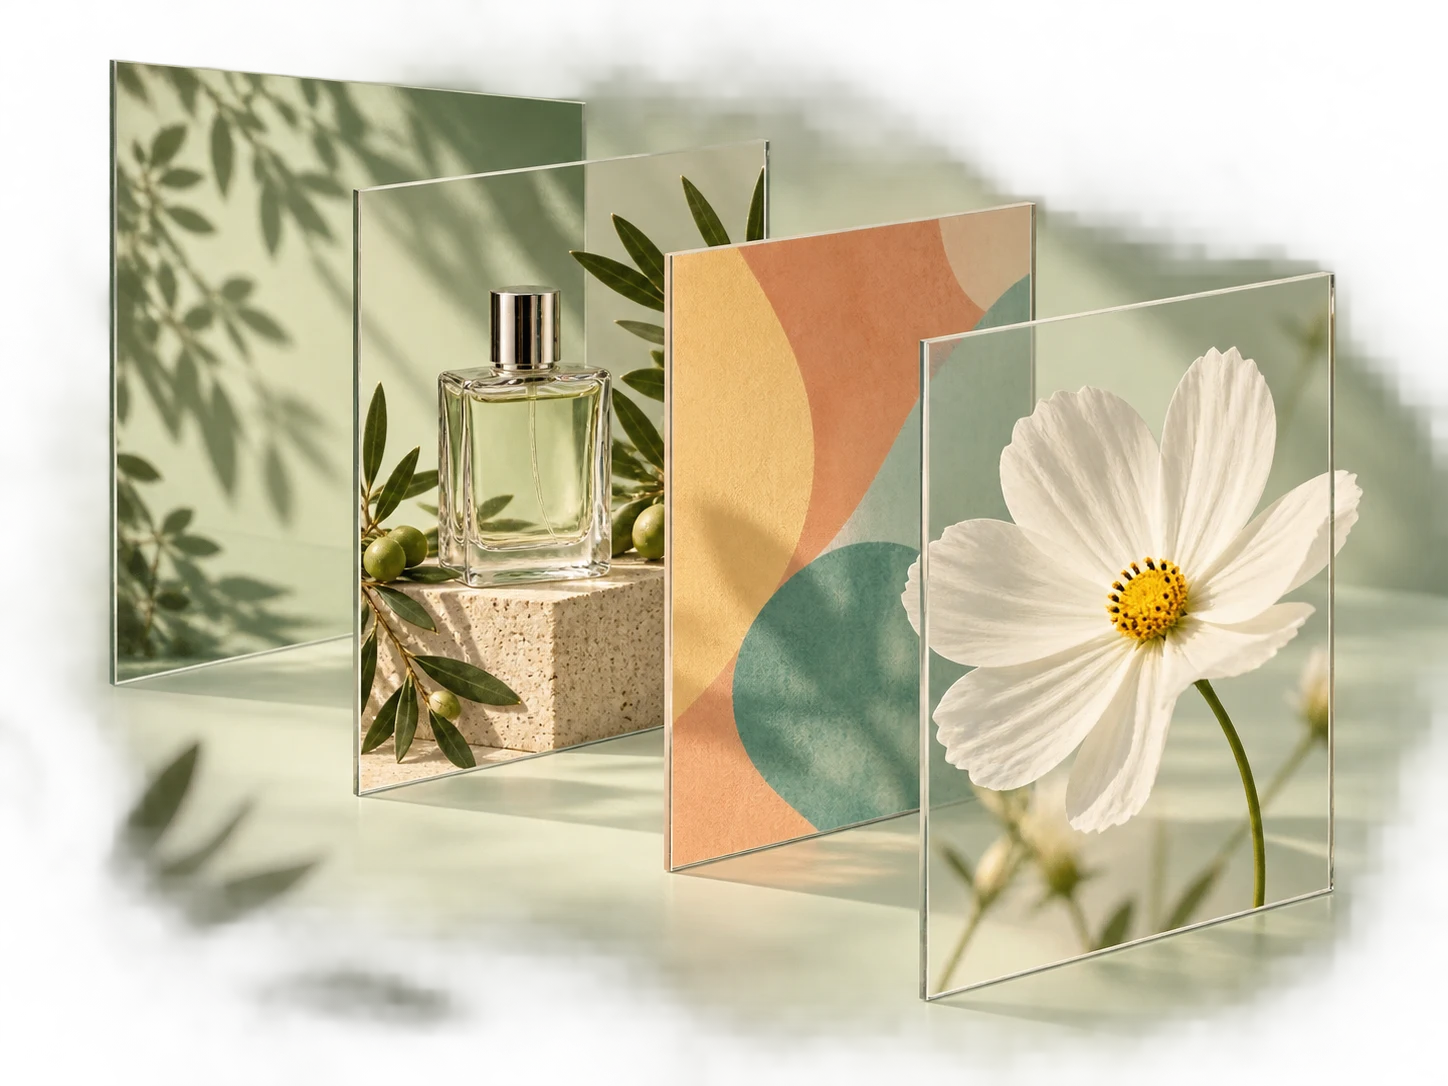
From web graphic to PSD

Example: Separate the hero product from its surrounding design. Illustrative concept.

How to Convert WebP to PSD

Upload your WebP, review its layers, and continue editing in Photoshop.

01

Upload a WebP image

Choose a static WebP up to 24 MB and at least 262,144 total pixels. Use a clear source with visible details.

02

Guide and preview the layers

Describe the elements you want separated. Generate with the credits shown in the workspace, then review the layers.

03

Download your layered PSD

Export raster layers as a Photoshop-compatible PSD. Check the generated dimensions before further editing.

WEBP TO PSD LAYERS

Explore the Layers in a WebP to PSD Conversion

A product image, an isolated subject and a separate background. Hover over or select a thumbnail to inspect this saved layer example.
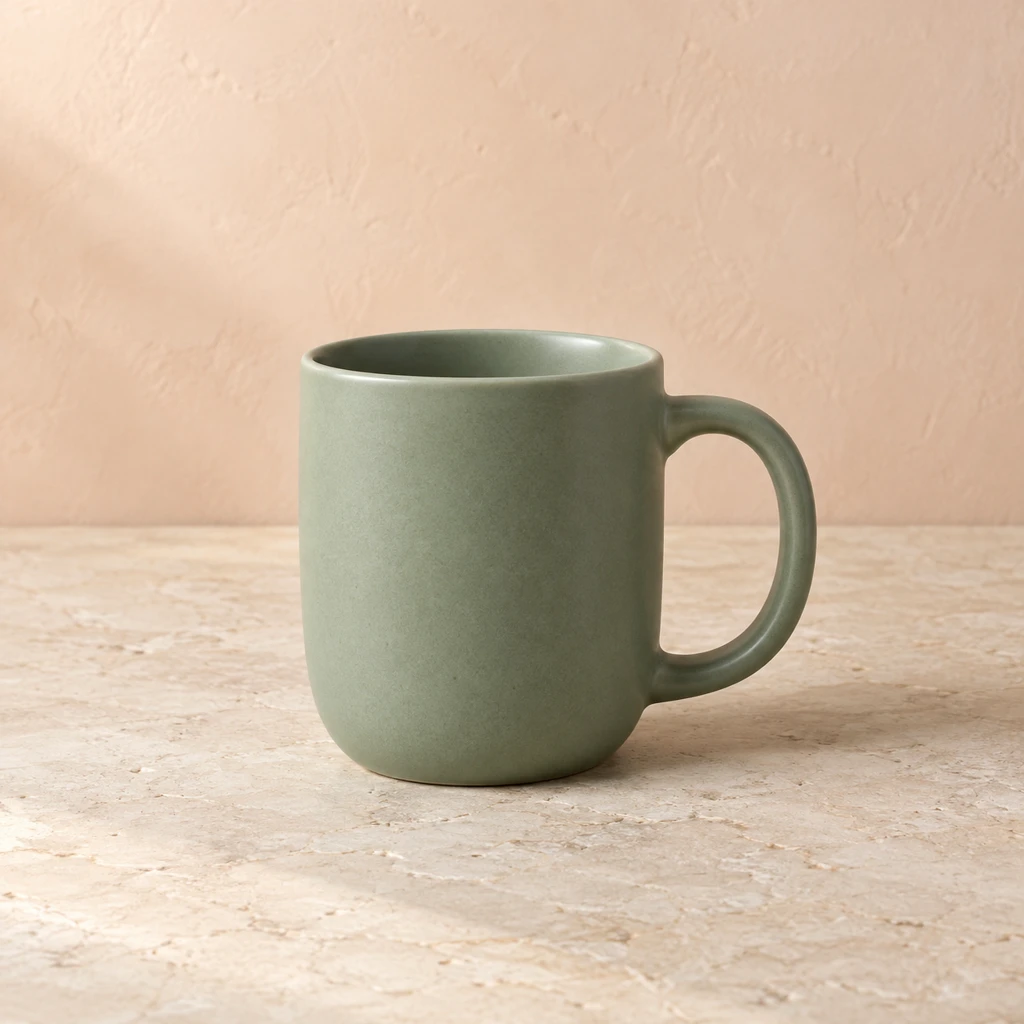
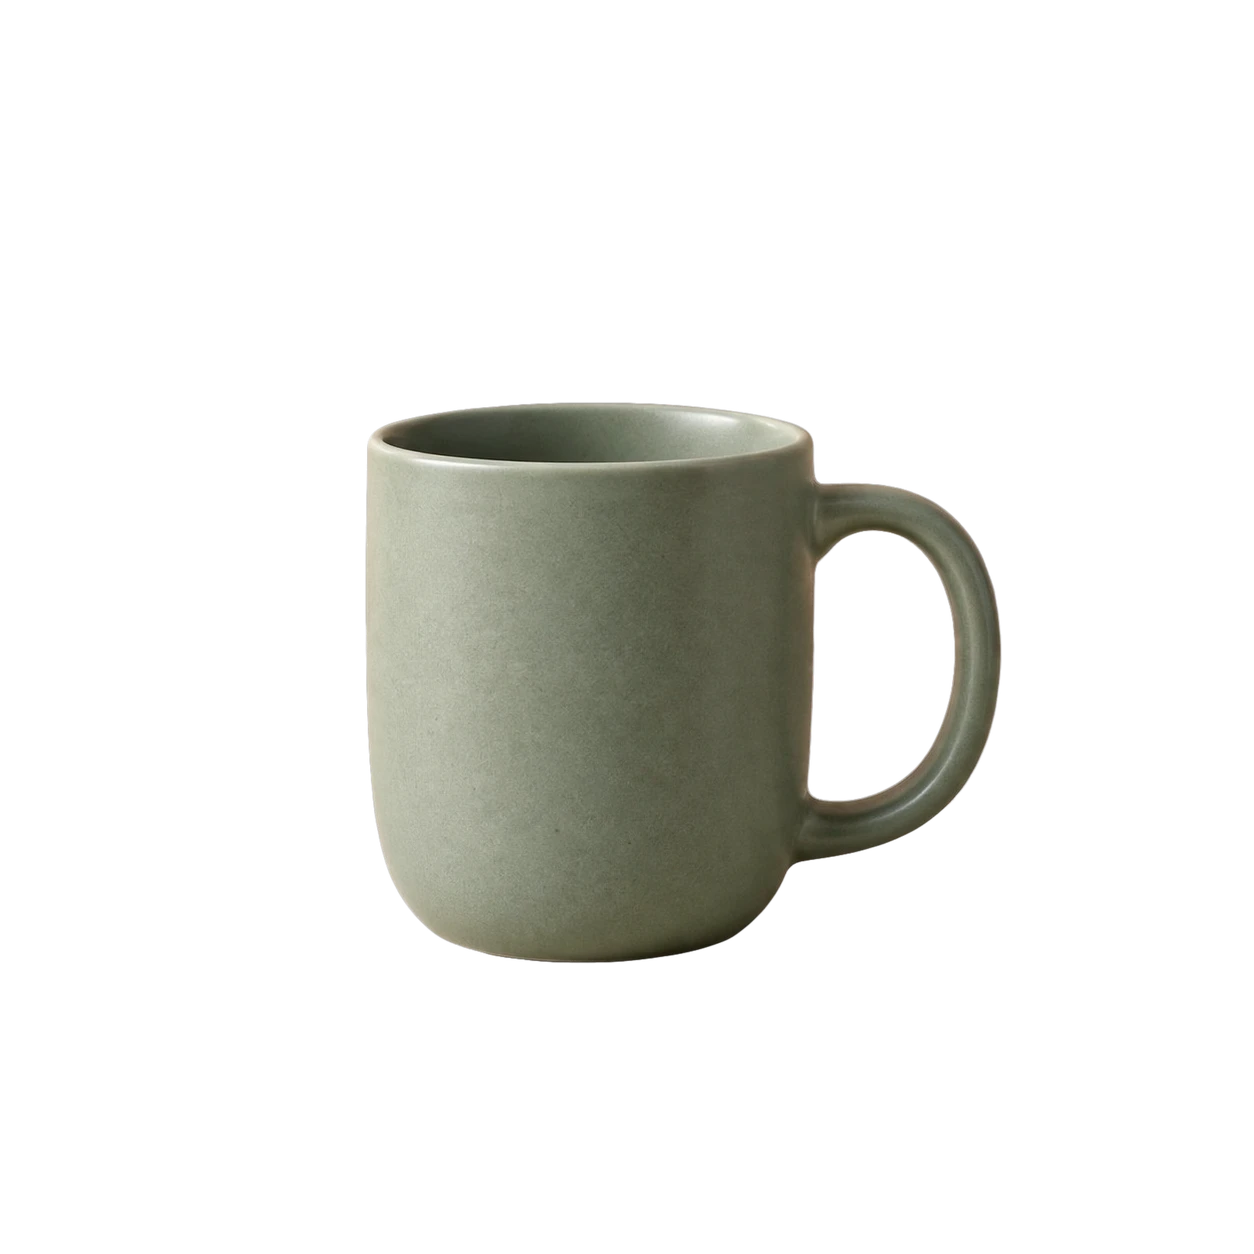
Original WebP image1 IMAGE
Green ceramic mug on a warm stone surface
Selected layer01 / 02
Product01Product

Saved AI layer extraction · WebP preview assets · Subject and reconstructed background. Results vary by image.

Why Convert WebP to a Layered PSD?

Bring web graphics, transparent artwork and product banners into your Photoshop workflow.
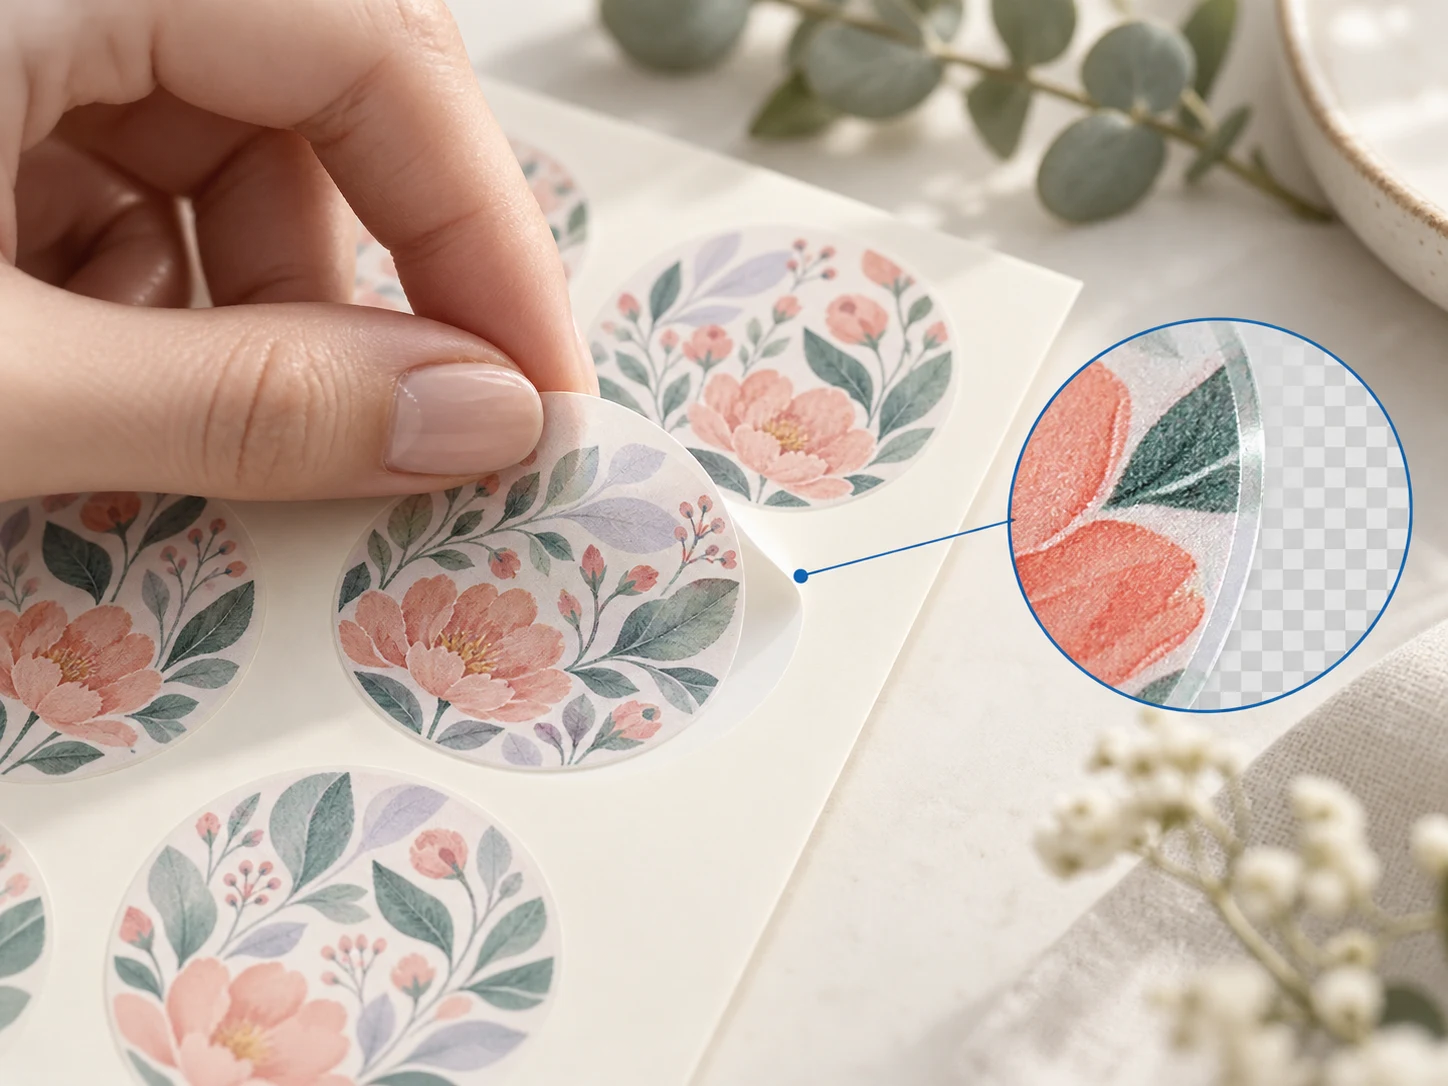
Bring WebP Graphics into a Layered PSD

Bring WebP Graphics into a Layered PSD

  • Use an existing WebP graphic as the starting point for a new composition.
  • Separate the main subject from surrounding design elements.
  • Continue moving and retouching raster layers in Photoshop.
Convert my WebP to PSD
Prepare WebP Cutouts for PSD Editing

Prepare WebP Cutouts for PSD Editing

  • Upload static WebP artwork with or without a transparent background.
  • Inspect small details and transparent edges in the generated result.
  • Refine masks in Photoshop when a cutout needs extra cleanup.
Convert my WebP to PSD
Separate WebP Banner Elements into PSD Layers

Separate WebP Banner Elements into PSD Layers

  • Describe products, foreground decorations and background regions.
  • Adjust separated elements independently in your editing software.
  • Lettering remains raster artwork; add new type to change the wording.
Convert my WebP to PSD
Preview WebP Layers Before PSD Export

Preview WebP Layers Before PSD Export

  • Inspect the available layers before you download.
  • Review subject edges and AI-reconstructed background areas.
  • Download a layered PSD for your next Photoshop edit.
Convert my WebP to PSD

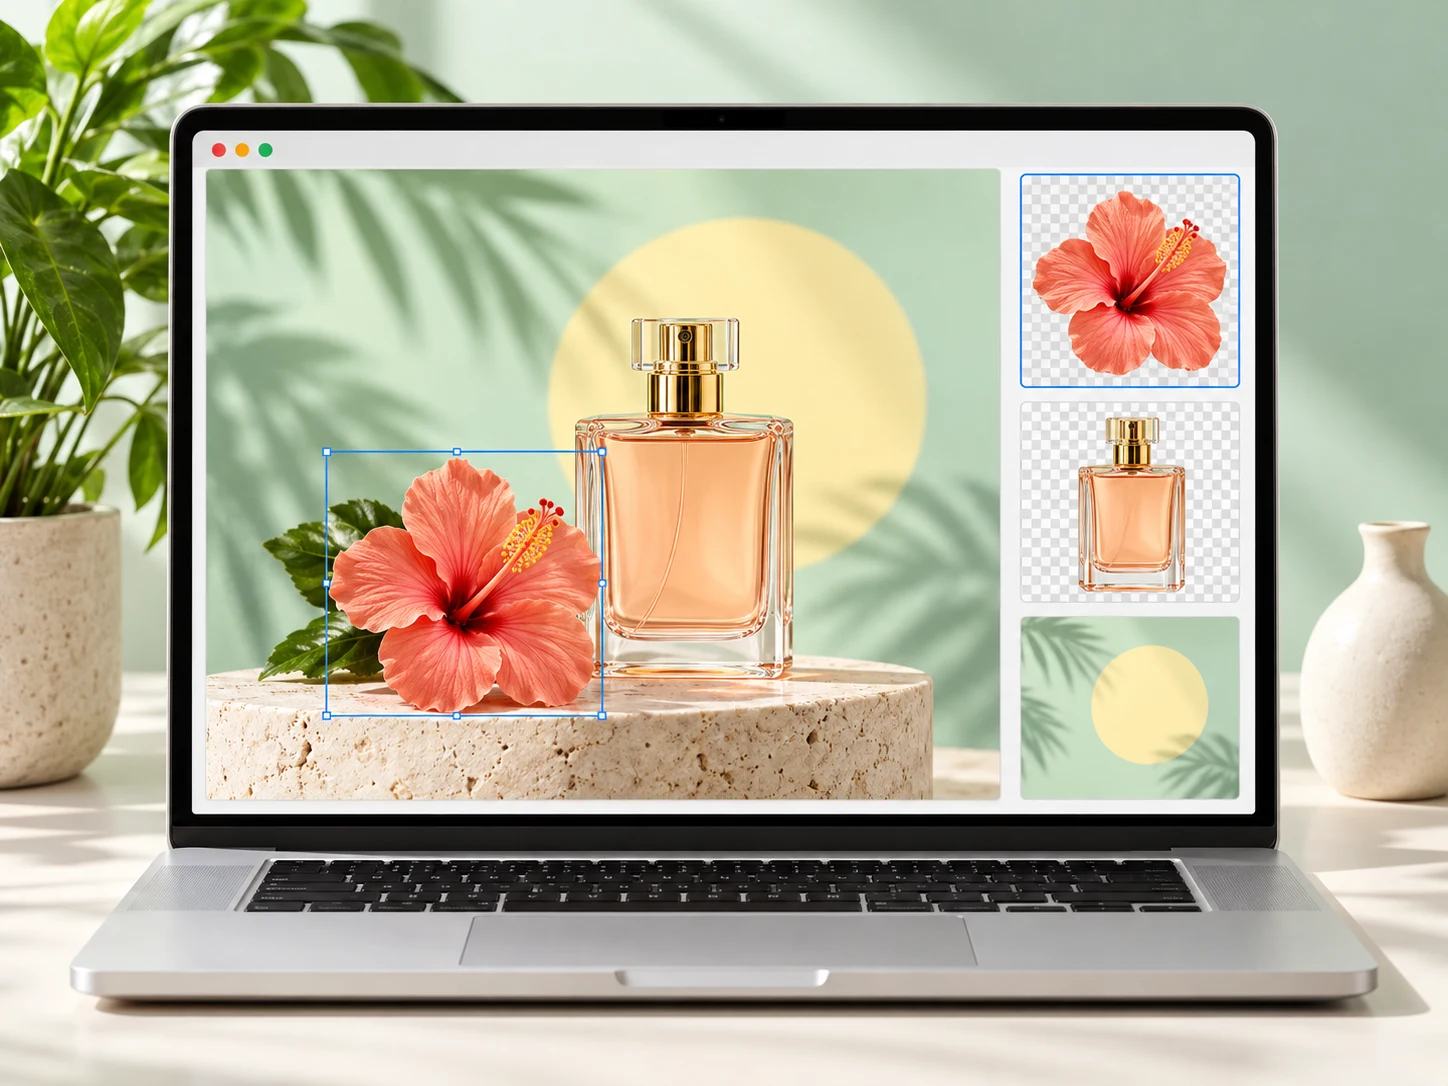
AI-generated illustrations of editing possibilities. Actual layer separation varies by image.

Common questions
WebP to PSD Conversion FAQs

Image2Layer creates a PSD-oriented raster layer stack based on the visible WebP image. Subjects, logos, text-like areas, shadows, and rebuilt background regions can be separated where the image gives enough visual information.