
01
Upload your logo artwork
Start with a clear JPG, PNG or WebP up to 24 MB, at least 512 × 512 pixels. A large logo with distinct shapes and readable lettering gives you more detail to work with.
AI LOGO LAYER SEPARATION
Split a flat logo into separate symbols, lettering and decorative elements. Preview your logo layers and export a layered PSD or transparent PNGs.
Logo artwork
0/1Upload Image
JPG, PNG, or WebP up to 24MB.
Start with Auto. More layers can separate smaller parts, but the artwork still determines what can be isolated.
Each generation uses 20 credits.
 00
00Original logo
LUMORA. A symbol and its wordmark.
Example: An original logo, separated into transparent assets. Select a layer to inspect the actual output.
Best with clear lettering, distinct shapes and a simple background.
YOUR LOGO WORKFLOW
Upload, inspect, export. Keep the creative decisions in your hands.
Start with a clear JPG, PNG or WebP up to 24 MB, at least 512 × 512 pixels. A large logo with distinct shapes and readable lettering gives you more detail to work with.
Most runs return up to 10 parts in 60–120 seconds. Inspect the symbol, lettering and supporting shapes. Compare the edges, colors and proportions with your original.
Download a layered PSD, individual transparent PNGs or a PNG ZIP, each near 0.4 MP. Continue refining the raster artwork in Photoshop, Photopea, GIMP or Affinity Photo.
THE SAME LOGO. A DIFFERENT WAY TO WORK.
Choose an artwork and inspect its matching separation result. Each comparison uses one original image.
Original artwork
One flat image. All the details together.
Layered result
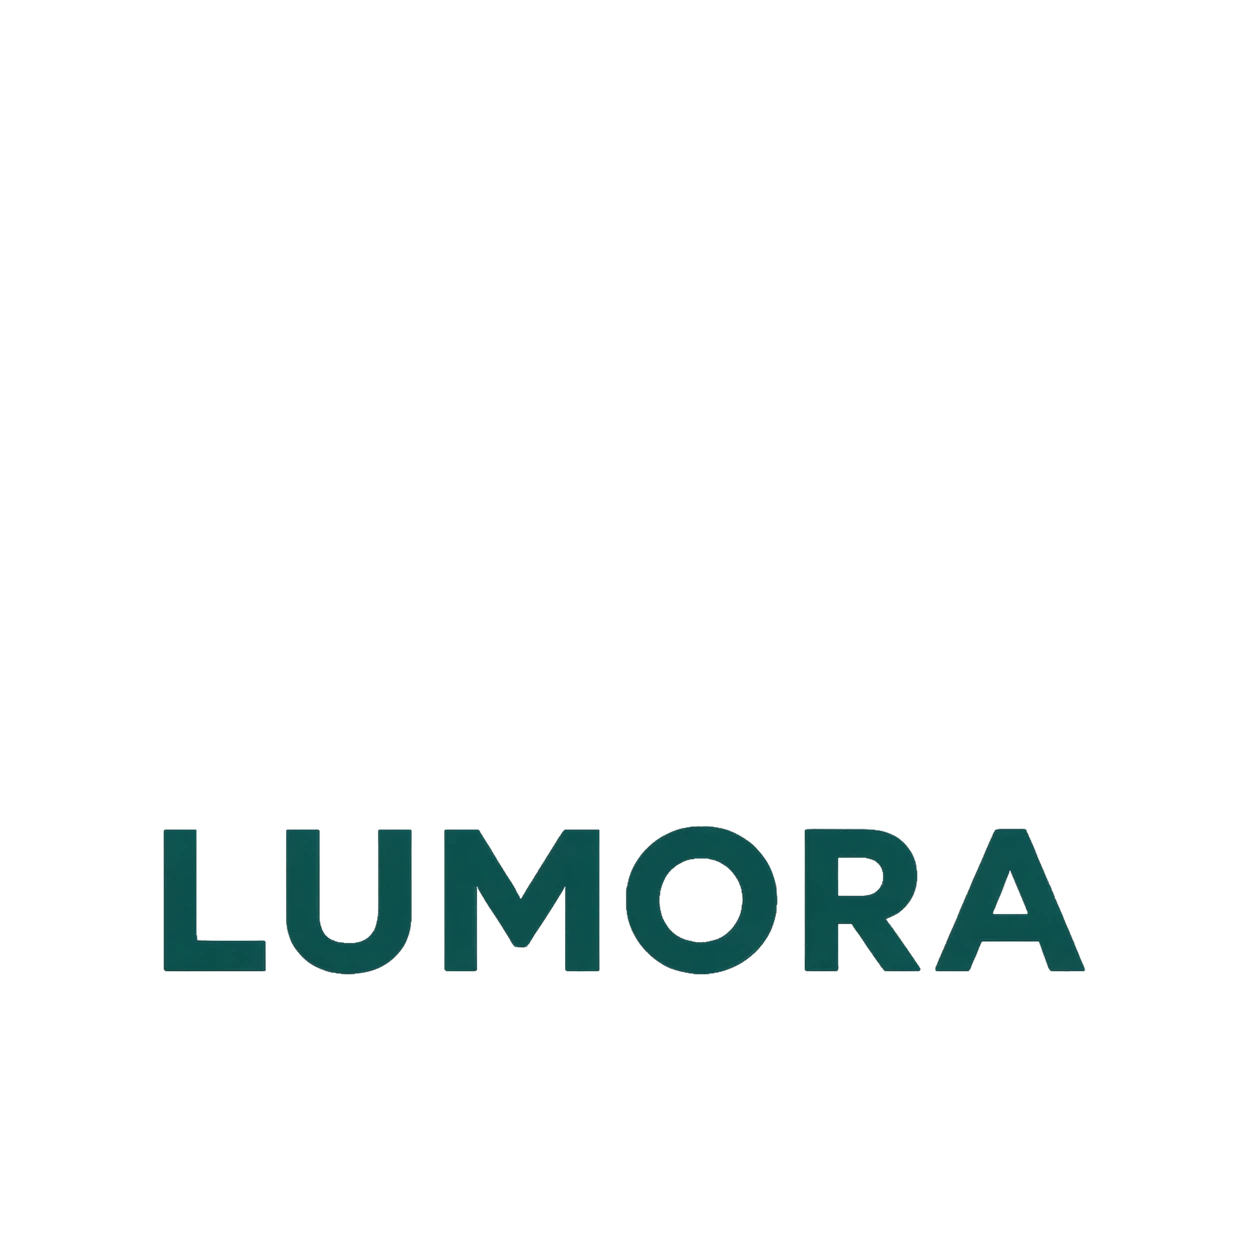

Select a part to inspect it. Toggle an eye to check the overlap. This example separates the LUMORA wordmark, leaves and sun. Compare lettering, shapes and edges with the original. AI output can change brand details; review every part before final use.
LOGO PARTS
Explore the parts this workflow targets. Available layers depend on shape boundaries, lettering and overlap.
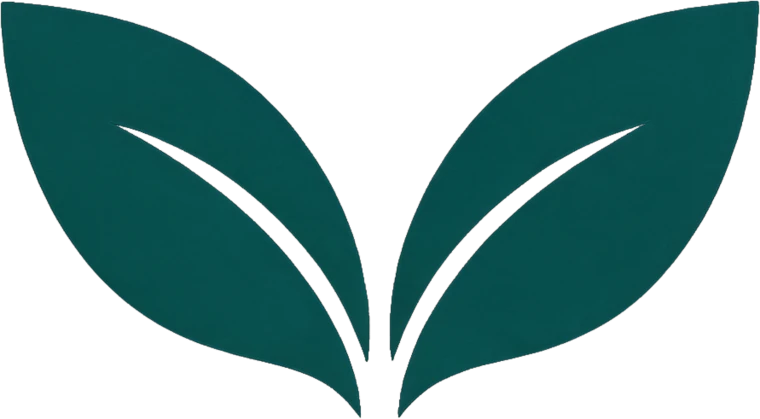
Real transparent parts from the matching logo artwork.
MADE FOR THE NEXT EDIT
Start with a separate mark for layout exploration instead of selecting the entire logo every time.
Inspect and edit the wordmark region without selecting the surrounding symbol and decorations.
Take distinct shapes into your editor for repositioning, recoloring and cleanup.
Export named raster layers with transparency and shared canvas positions in a layered PSD.

Small changes matter in a logo. Compare lettering, line edges, colors and proportions with the original before using the separated parts. AI output may need manual refinement.
WHERE YOUR LAYERS GO NEXT
Separated logo parts give you a starting point for brand layouts, design revisions and motion preparation.
Bring separated logo elements into presentations, packaging mockups and social layouts. Review the result against your brand guidelines before use.
Explore how the mark and lettering sit together in a new composition. Refine spacing, proportions and edges in your preferred editor.
Use separated raster parts as a starting point for motion design. Keyframes, timing, effects and final animation are created in your animation software.
YOUR FILES, YOUR WORKFLOW
Named raster layers, transparency and canvas positions in one editable file.
Download individual parts with alpha transparency for focused edits.
Keep your separated image assets together in one downloadable package.
Flat logo → separated raster layers → refine in your editor.
Lettering stays as image layers. SVG vectors and editable type are not included.
A FEW THINGS TO KNOW
Separate your logo parts, inspect the details and keep designing.